The United States is on the cusp of a manufacturing renaissance. Federal legislation has ushered in billions of dollars of investment in manufacturing capabilities that will streamline the supply chain and strengthen national security.
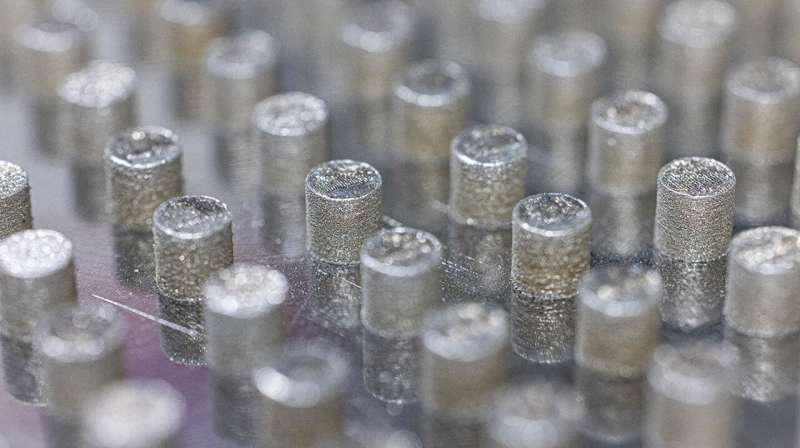
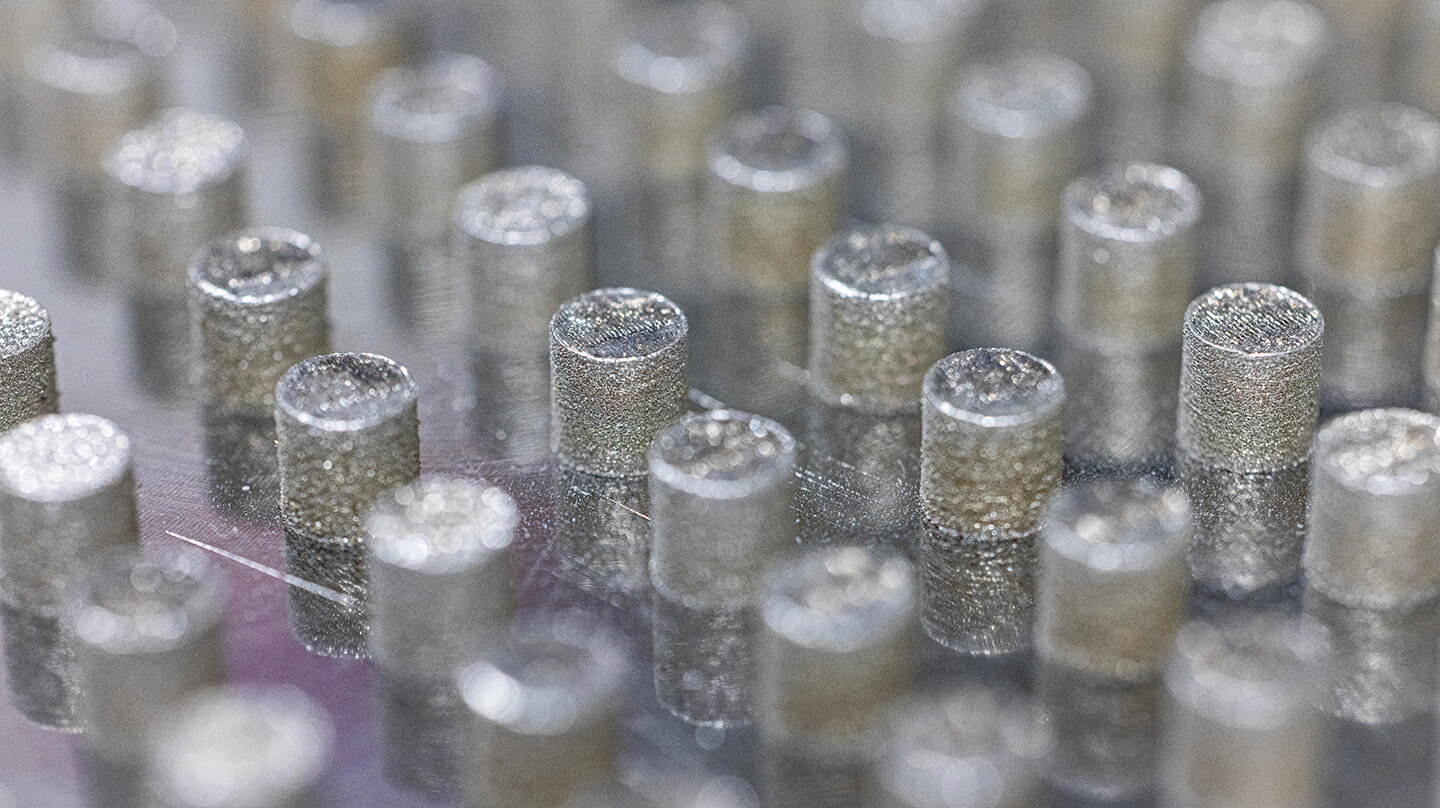
One capability poised to have a profound impact on the nation's industrial base is additive manufacturing, which encompasses a variety of fabrication techniques that build structures layer by layer.
"Additive manufacturing allows you to create so many different structures that are optimized for specific applications," said Vince Pagán, an experimental optics scientist and project manager at the Johns Hopkins Applied Physics Laboratory (APL) in Laurel, Maryland.
"But its Achilles' heel is that the process generates defects that can cause parts to weaken and fail, and you can't have that when they're used in critical applications like national defense, biotechnology and aerospace."
This problem remains one of the most significant obstacles to widespread adoption of additive manufacturing technology, but APL experts are addressing it by developing sensors that are fast enough to identify defects before they materialize.
"If we can identify defect formation while still in the melt state, then we have the opportunity to repair these imperfections before they result in performance-limiting flaws," said Morgan Trexler, who leads APL's Science of Extreme and Multifunctional Materials program. "We are working to make manufacturing processes more intelligent, which will inherently lead to more rapid manufacturing and trusted components."
Bubble trouble
Some of the most common defects created during additive manufacturing—and among the hardest to prevent—are keyhole formations. These appear during the process of powder bed fusion, a method of additive manufacturing that uses lasers to melt metal powders and solidify them into complex geometries.
When the lasers deposit too much energy too quickly into the melted metal or melt pool, tiny bubbles of vapor form and become trapped as the metal cools, weakening a part's structural integrity. Because they form beneath actively printed layers, keyhole defects are hard to spot in real-time—but not impossible.
"We can identify rocks below the surface of rivers from space, not because we can actually see them directly, but because we can see rapids where the water flow is disrupted," explained Steve Storck, project manager and chief scientist for manufacturing technologies in APL's Research and Exploratory Development Department.
"Similarly, if a pore is about to form in a part, then the thermal flow around it will be disrupted, which indicates a defect in the formation process. If we can measure that temperature and spectral anomalies accurately and rapidly, we should be able to tell if something is forming in, underneath or adjacent to the active melting location."
The researchers hypothesized that these keyhole defects were occurring during transitional states. If they could pause the depositing laser just before the anomaly began to form, then the molten metal could cool long enough to settle and close the vapor depression, preventing bubble formation.
"To eliminate keyhole defects, we need to be able to detect and prevent them in real time, but this all happens exceptionally fast," said Storck. "In the additive manufacturing process, solidification happens about 1 to 3,000 times faster than during traditional processes, which means conventional sensing and control methods would not work. This drove us to develop custom methods."
To find out just how long they needed to pause the laser, Li Ma, a senior engineer and additive manufacturing process modeling expert, ran a simulation using computational fluid dynamics. The simulation determined that response times faster than 10 to 20 microseconds were required to identify a thermal disruption, augment the process, and let the molten pool cool slightly without a defect forming.
"This is where the magic happens," said Pagán. "We're essentially slowing down time."

From concept to process
The team first tested conventional sensors to see if they could identify the defect signatures fast enough, but ran into optical resolution and speed limitations. This prompted a collaboration with Mark Foster, an associate professor of electrical and computer engineering with the Johns Hopkins University's Whiting School of Engineering, and several Whiting School postdoctoral students to enhance an APL-developed and patented sensor.
Melding expertise in materials science, additive manufacturing, optical engineering and data science, they added photodiodes at multiple wavelengths and increased the sample frequency to measure high spatial- and temporal-resolution data on the melt pool and its dynamics, enabling them to gather the information needed to identify the early stages of a keyhole defect on a timescale that could enable real-time repair.
With the high-speed sensor up and running, the researchers developed a control framework that could communicate between the sensor and the laser and tell the laser to shut off when the melt pool got too hot and was likely to create a defect—all within 10 to 20 millionths of a second.
Continuing to draw on expertise from across APL, Storck and Pagán reached out to developer Mike Brown, who adapted a high-speed field-programmable gate array—essentially an integrated circuit that can be programmed to meet specific needs—that was originally designed for defense purposes, to seek missiles in the sky.
"One of the unique aspects of working at APL is the ability to leverage technology from areas that seemingly do not relate; for example, we can take the knowledge and expertise we apply to missile defense—responding to measurement inputs very quickly and making adjustments even faster—and apply it to additive manufacturing," said Storck.
After integrating all the systems, the team successfully demonstrated the system's ability to respond in a mere 952 nanoseconds—less than one microsecond, or faster than the blink of an eye.
"Those were great results, because at a minimum we need to measure at least twice as fast as what's actually happening physically, so we can capture the peaks and valleys of the spectral response as it correlates to temperature," Storck explained. "Our system can measure the spectral and temperature readings and respond 10 times faster than required based on simulations of keyhole formation."
The team plans to incorporate artificial intelligence into the process to speed up the feedback loop and more accurately indicate where and how the defects are forming. Storck said this will enable real-time control and repair as APL works toward producing parts that can be trusted straight from the build.
Citation: Catching additive manufacturing defects with nanoseconds to spare (2024, May 10) retrieved 10 May 2024 from https://techxplore.com/news/2024-05-additive-defects-nanoseconds.html
This document is subject to copyright. Apart from any fair dealing for the purpose of private study or research, no part may be reproduced without the written permission. The content is provided for information purposes only.
