I'm an embedded systems engineer. I spend a lot of my free time looking for things I could use in future designs, or things that tickle one of my fancies.
One of those things is cheap Linux-capable computers, the cheaper the better. So I started diving into the very deep rabbit hole of obscure processors.
I thought to myself, “These processors are nearly cheap enough to give away.” After a while I hit upon the idea of making a barebones Linux board in a business card form factor.
As soon as I had the idea I thought it would be pretty cool to do. I have seen electronic business cards before, with various fun features including emulating USB flash drives, blinkenlights, or even wireless transceivers. I have never seen one running Linux, however.
So I built one.
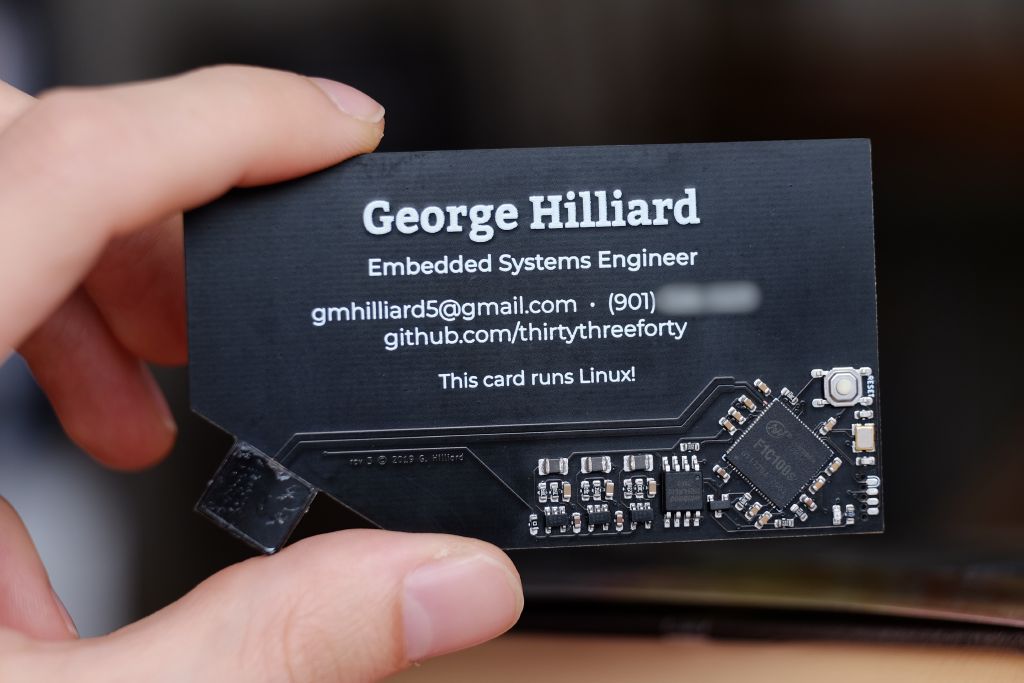
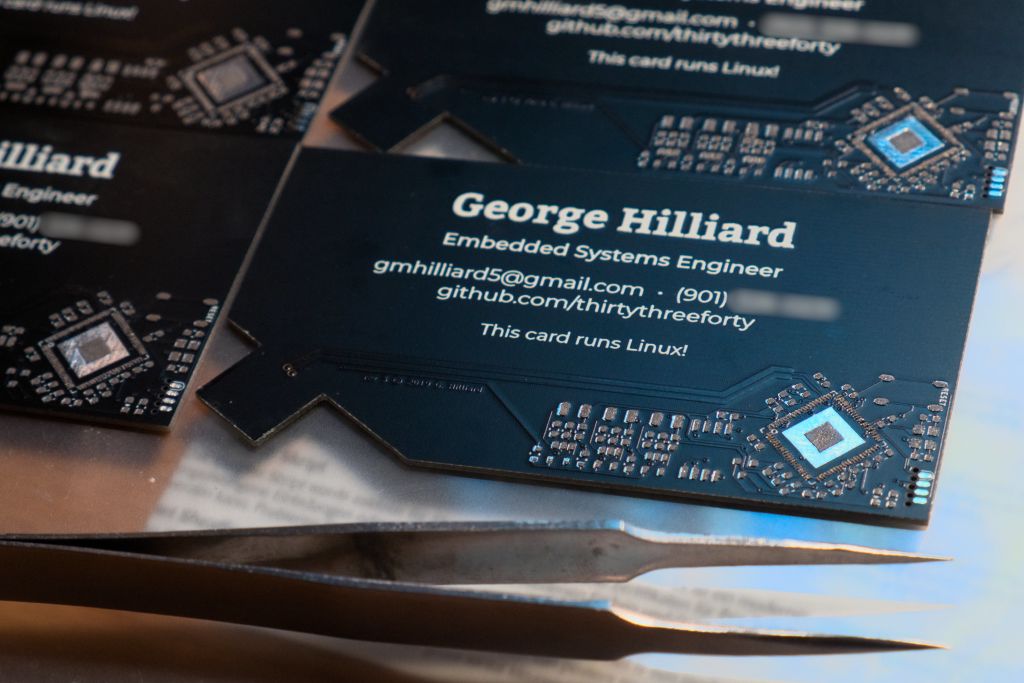
This is the finished product. It is a complete, minimal ARM computer running my customized Linux firmware built with Buildroot.
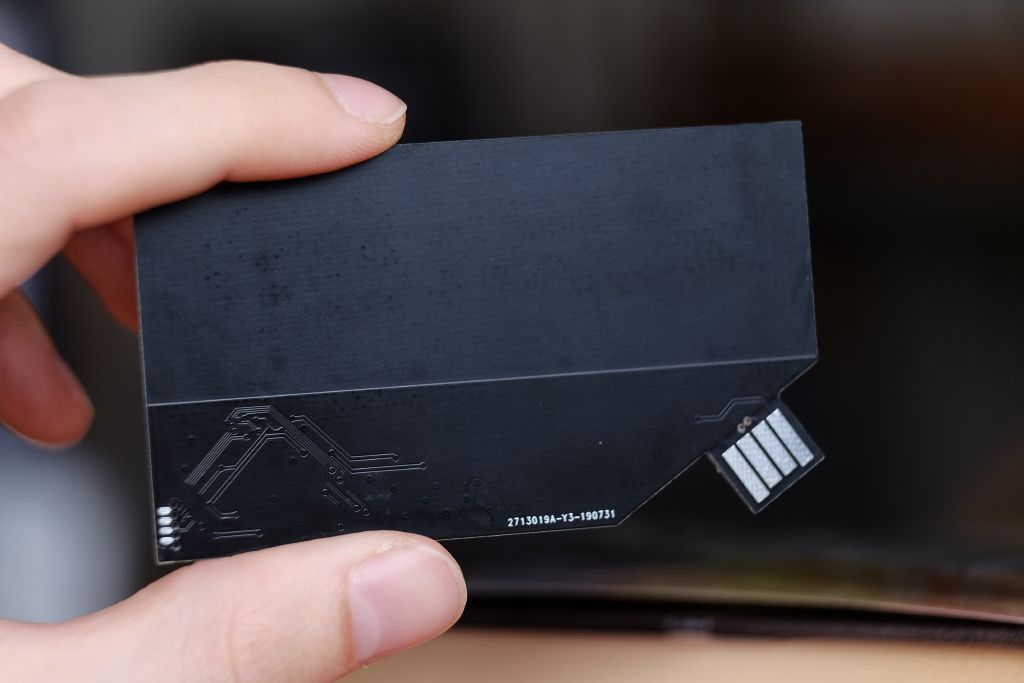
It has a USB port in the corner. If you plug it into a computer, it boots in about 6 seconds and shows up over USB as a flash drive and a virtual serial port that you can use to log into the card's shell. The flash drive has a README file, a copy of my résumé, and some of my photography. The shell has several games and Unix classics such as fortune and rogue, a small 2048, and a small MicroPython interpreter.
All this is accomplished on a very small 8MB flash chip. The bootloader fits in 256KB, the kernel is 1.6MB, and the whole root filesystem is 2.4MB. So, there's plenty of space for the virtual flash drive. It also includes a writable home directory, on the off chance that anyone creates something they want to keep. This is also saved on the flash chip, which is properly wear leveled with UBI.
The whole thing costs under $3. It's cheap enough to give away. If you get one from me, I'm probably trying to impress you.
I designed and built everything myself. This is literally my job, and I enjoy it, so much of the challenge was finding parts that were cheap enough for a hobbyist.
The choice of processor was the most critical decision to keep the cost low and make the project feasible. After much research, I selected the F1C100s, a fairly obscure cost-optimized (read: damn cheap) part made by Allwinner; it includes both RAM and CPU in a single package. I bought these on Taobao. All the other miscellaneous components were sourced from LCSC.
I fabricated the PCBs with JLC. For $8 I got 10 copies. I have been very impressed with boards I've gotten from JLC; they're not quite as nice as the ones from OSHPark, but they look great, especially for the price.
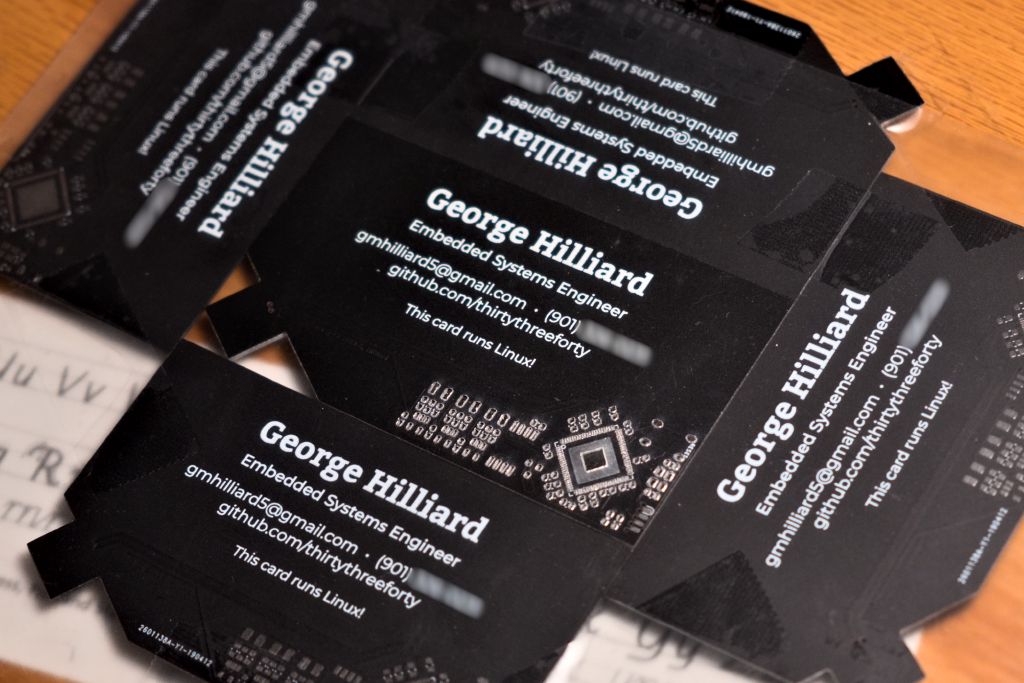
The first spin of the boards were matte black, which looked fine but were quite the fingerprint magnets.
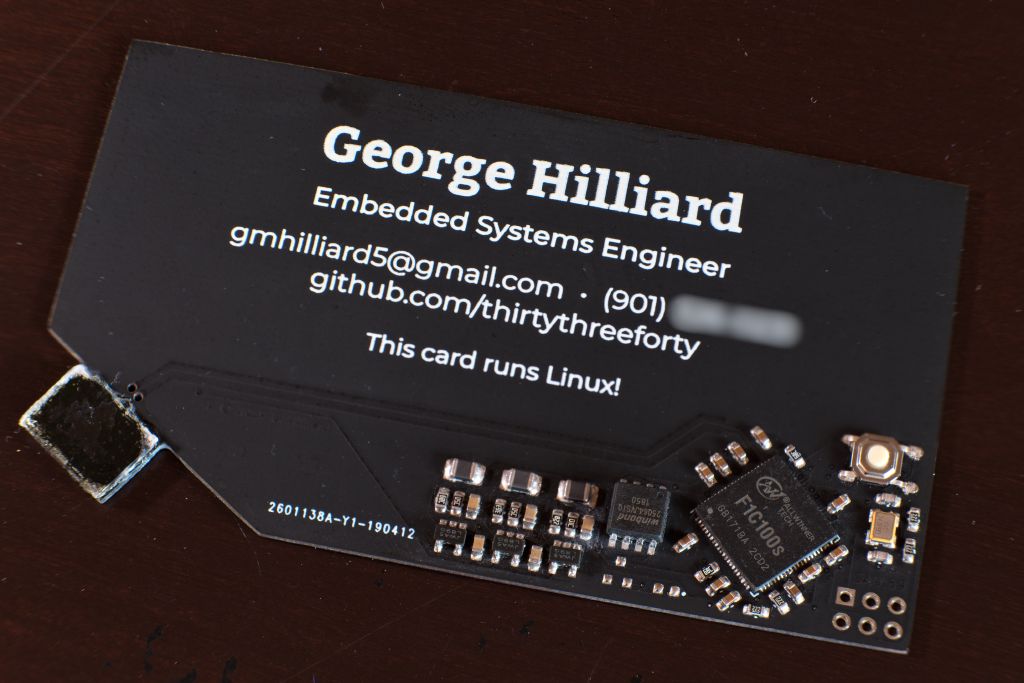
There were a couple problems with the first spin: first, the USB port wasn't long enough to reliably make contact in many USB ports. Less critically, the flash footprint was wrong, which I worked around by bending the leads under the part by hand. (My wife said I was “dead-spidering” the part!)
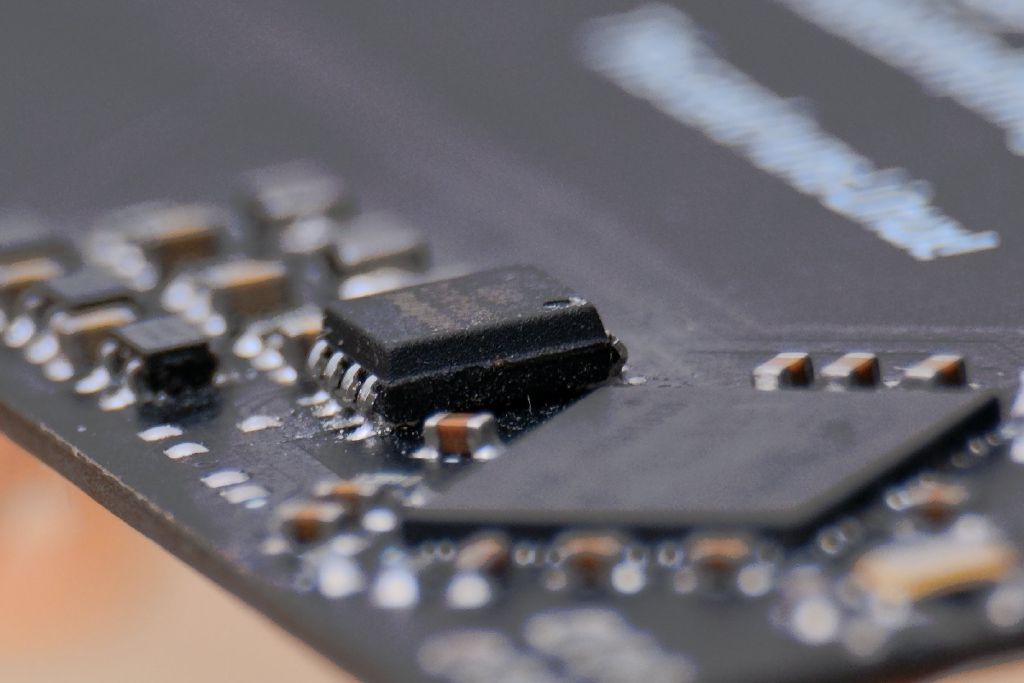
Once I had validated everything else, I re-spun the boards to get the version you see at the top of this article.
Due to the size of all these small parts, right away I decided to reflow solder everything using a cheap reflow oven. I have access to a laser cutter, so I laser-cut my own solder paste stencil using laminator pages. The stencil turned out reasonably well. The 0.2mm apertures for the processor pins needed special attention to get them to come out clean: laser power and focus were critical.
Other blank PCBs make a good jig for holding your board to apply paste.
I applied solder paste and placed components by hand. I made sure to have a lead-free process—the boards, parts, and solder paste are all RoHS—so that I wouldn't feel bad about giving them to people.
I was a little off-target on this particular print, but solder paste is pretty forgiving and these assembled fine.
Each component takes around 10 seconds to hand-place, so I tried to keep component count as low as possible.
For more discussion about the design and software, you might be interested in reading my detailed write-up.
Bill of Materials & Cost
I kept costs low. It's cheap enough that I don't feel bad giving it away, as designed! I'm not going to give one to absolutely everyone because it does take time to assemble each card, and assembly cost is not factored in here (my time is “free”).
| Component | Price |
|---|---|
| F1C100s | $1.42 |
| PCB | $0.80 |
| 8MB flash | $0.17 |
| All other components | $0.49 |
| Total | $2.88 |
Of course, there are other costs that are difficult to quantify like shipping (since it's spread across multiple projects). But this is definitely pretty cheap for a Linux board. It also gives a pretty decent starting point for quantifying how much it costs companies to manufacture bottom-end devices: you bet they're getting everything even cheaper than I am!
What can I say? It boots a super stripped-down Linux in about 6 seconds. Due to form factor and cost, the card lacks I/O, networking, and any amount of storage to run heavyweight programs. Nonetheless, I managed to cram a bunch of interesting stuff into the firmware image.
USB
I could do any number of things with the USB, but I chose to keep it fairly simple so that people could have a decent chance of getting everything working on their computer when they tried it out. Linux lets you behave as a “device” with the Gadget Framework. Since I forward-ported some drivers from others’ previous work on this processor, I have all the functionality of the entire USB gadget framework at my disposal. I decided to emulate a pre-generated flash drive and supply a shell over a virtual serial port.
Shell
You can run all these from the emulated serial console after you log in (as root, the only user):
rogue: the classic Unix dungeon crawler.2048: a simple console mode 2048 game.fortune: various pithy sayings. I decided not to include the entire database of quotes here to save space for other functionality.micropython: a very small Python interpreter.
Emulated Flash Drive
During the compilation process, the build tools generate a small FAT32 image and add it as one of the UBI partitions. As I described above, the Linux gadget subsystem presents this as a mass storage device to the PC.
If you'd like to see what appears on the flash drive, the easiest thing to do would be to go look at the source code. There's some of my photography and my resume.
Source Code
-
If you'd like to see my Buildroot tree, it's open-sourced on GitHub at
thirtythreeforty/businesscard-linux. It contains the code to generate the NOR flash image, which is then installed via the processor's USB download mode. It also has package definitions for the games and other goodies like fortune that I packaged for Buildroot once I got everything working. If you're wanting to use the F1C100s in a project, it's a great starting point (and feel free to get in touch if you have questions). -
I rebased Icenowy's excellent F1C100s work on Linux v4.9. My business card runs near-mainline v5.2 with this handful of patches rebased and debugged. It's hosted on GitHub at
thirtythreeforty/linux. -
I believe I currently have the world's best port of U-Boot to the F1C100s, based again in part on some work by Icenowy. (Surprisingly, getting U-Boot fully working was quite annoying.) I am working on upstreaming this. In the meantime, it is also on GitHub at
thirtythreeforty/u-boot.
F1C100s Documentation
I found some (sparse) documentation for the F1C100s, which I'm mirroring here:
- Allwinner F1C100s Datasheet gives pinouts and general info
- Allwinner F1C600 Reference Manual gives register definitions for the F1C600, which is an F1C100s rebadged as Linux-capable (ha!)
- I heavily drew from the schematic for Sipeed's Lichee Nano, which was the dev board I used to get my software working.
And finally, I've uploaded my schematic for the curious. You can download it by clicking on it below.
The F1C100s is somewhat scarce here in the US, so here's an open offer for people who want to design with this part: if you design a board with this chip on it, get in touch and I'll get you some samples to build your board.
I taught myself a lot on this project: it's my first project using a reflow oven to solder the parts. I also had to learn how to find resources for poorly-documented parts. There was a lot more to it than what I touched on in this quick presentation; again, if you want to see how the sausage gets made, see also my companion detailed write-up.
I drew from my existing experience with embedded Linux and designing PCBs. It isn't flawless, but it's a pretty good representation of my abilities.
If you'd like to learn how to do this kind of thing, you might also be interested in my ongoing Mastering Embedded Linux series! I'm walking through how to build hardware and software from scratch for tiny, cheap Linux systems much like my business card.